Update: Thank you so much for all the great praise and feedback on my DIY Bra Organizer! I really appreciate it, truly. I’ve heard from so many new followers through this post and am so happy so many of you have found it useful. Whether you found it through Facebook, Pinterest, Twitter, Stumble Upon, or another website or blog, please credit and link back where appropriate. Thank you!!
I am BACK!!! Yupp… it has been a while – a long while it seems – I missed blogging, but I had real life issues to sort out and just could not find the time to dedicate to the blogosphere.
Anyways, I am back with a quick (and cheap) D.I.Y. for keeping those bras you love organized and in shape – after all, you spent the money on them – and most bras do not come cheap – so you want them to last as long as possible!
When it comes to bras with molded cups, there are a few rules for properly caring for and storing them to ensure they last a good while.
- NEVER throw your bras, molded cups or not, in the washer – always hand-wash them with care. (Exception to this rule: No-wire, non-molded sports/yoga bras)
- NEVER fold your molded bras in half, forcing you to invert one of the cups into the other – this will alter/ruin the shape of the cups – sometimes causing permanent “dents” in the tip of one cup! Squished nipple alert! Have you ever seen a woman walking around and something looks just a little off in the tit area – well yeah, maybe she stores her bras incorrectly – eeek! (You can fold your non-molded bras in half with no worries)
- AVOID throwing your molded cup bras into that chaotic panty drawer – same dangers for those cups as rule 2.
- HANG bras or ORGANIZE them in a drawer properly – and when I say properly, I mean the way you see them in the lingerie stores drawers – like Victoria’s Secret – never folded in half or in a messy pile. You can also purchase bra drawer organizers, which included actual dividers.
Personally, I prefer to hang my bras – and recently, I had been looking at an easy way I can hang them all together, without having to buy something specifically for that purpose, so here is what I came up with – and I love it – it really is the perfect solution for me, so maybe it will work out for you too!
What you will need:
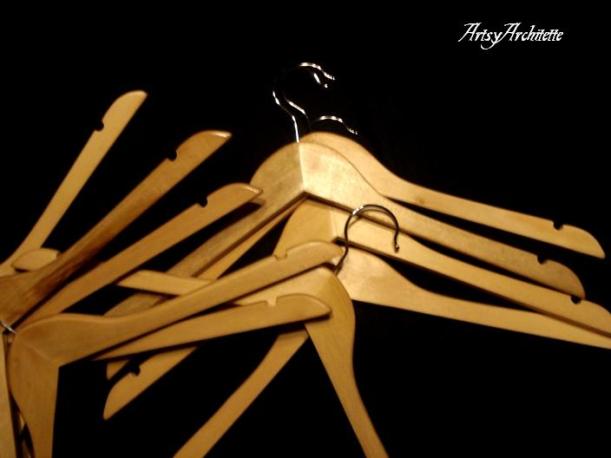
Wooden hangers – class it up a bit – I got 2 packs of 5 wooden hangers ($4 each) – make sure the shirt hangers you choose have grooves for straps.
Screw Eyes or Hooks – I opted for hooks ($2 total) , since they were out of screw eyes that were long enough (you want at least a 2 inch drop length).
Optional: Pliers – to close the screw hooks – essentially making screw eyes.
and of course BRAS!
STEP 1:
Grab your screw eye/hook and a hanger.
STEP 2:
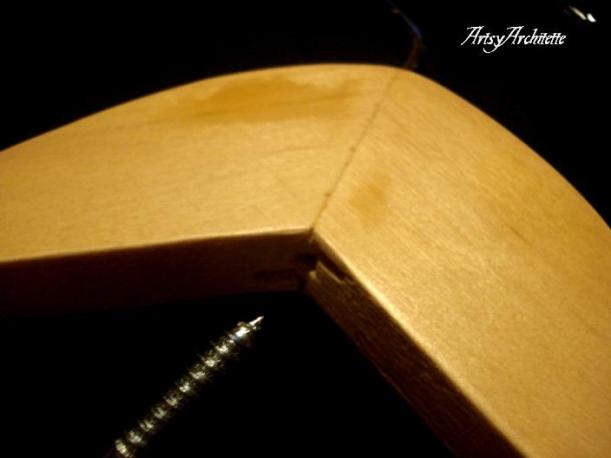
Screw the eye/hook into the center/joint of the wooden hanger – it will take very little effort!
STEP 3:
Using the pliers, close the screw hook – creating a screw eye.
Do the previous steps for each of the hangers, with the exception of the last one.
STEP 4:
Hook each hanger onto another and add your bras! TA DA!
Now, I am not shy about having my bras out – they are pretty – so I have mine hung on the back of my door – plus they are now organized to perfection!
You can also double up on each hanger (bras can be placed back to back like this > d|b < bra – hanger – bra), if you are hanging yours in your closet or open space.
I now have an easy bra organizer – for up to 20 bras! All for $10 🙂
HAPPY ORGANIZING!


